by Ishtiaq · Updated Jul. 11, 2022
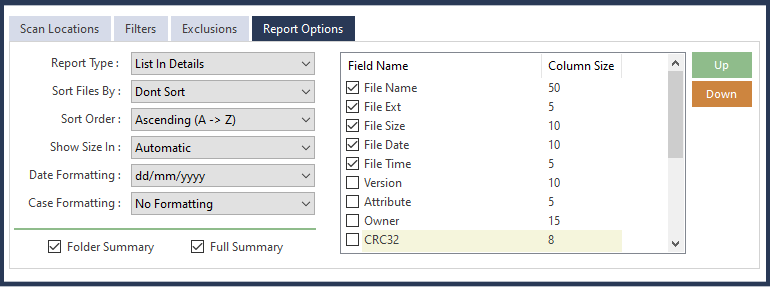
STEP 1 - Select the report options
The Report Options tab allows you to specify what is displayed in the directory listing, such as columns, the date time format, and size etc.
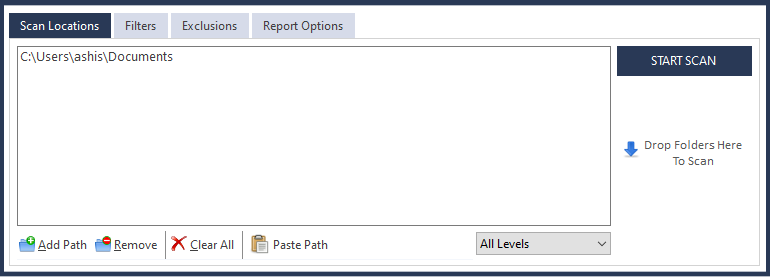
STEP 2 - Add the Locations
You can add multiple locations including network paths. Please click on Add Pathbutton and add as many folders or drives as you like to generate list for.
After adding locations click on the "START SCAN"button to begin the scanning process. It can take some time depending on your system and on the number of files in the selected locations.
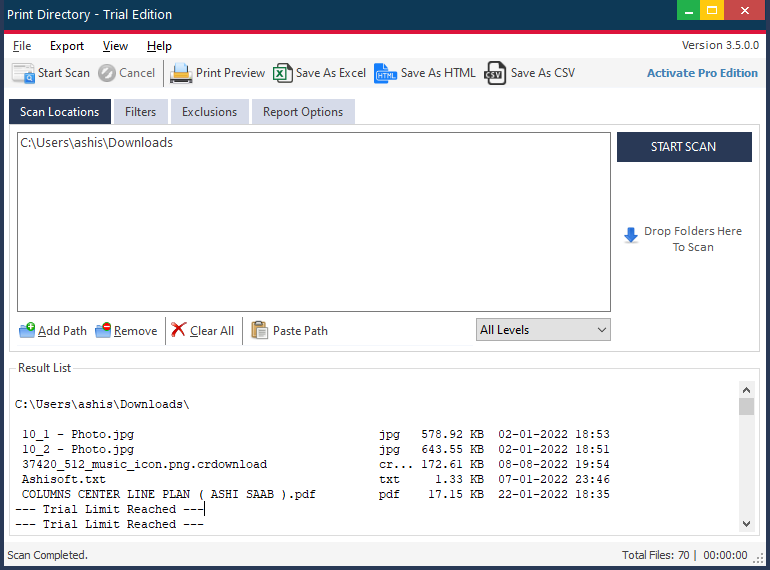
STEP 3 - Save the result list
The Report List allows you to send the listing directory to a printer or copy the listing to the clipboard for pasting into any text editor, word processor, or other program that accepts plain text. You can also save the listing directory in Word or Excel from within Print Directory.
- Filters
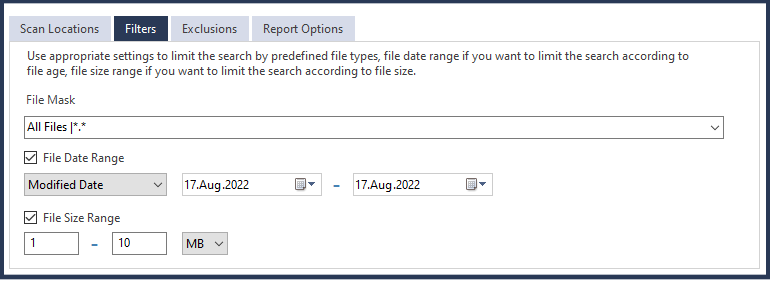
If you want to search for predefined file types, press the File Mask option and select one of the options. You can also select the appropriate file size and date range if you want to restrict the search according to file size and file age.
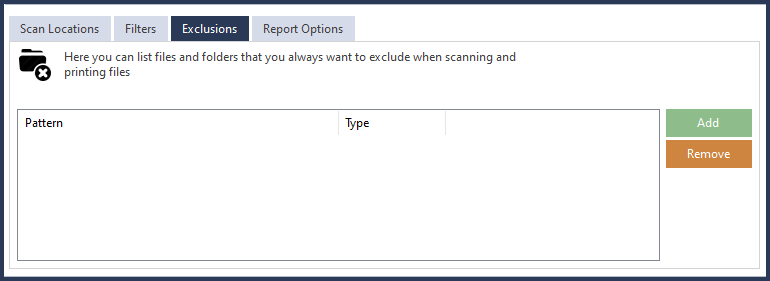
- Exclusion
You can list folders and file extensions that you want to exclude from scanning. Folders and file types listed in Exclusion list will be ignored during the Scanning Process...